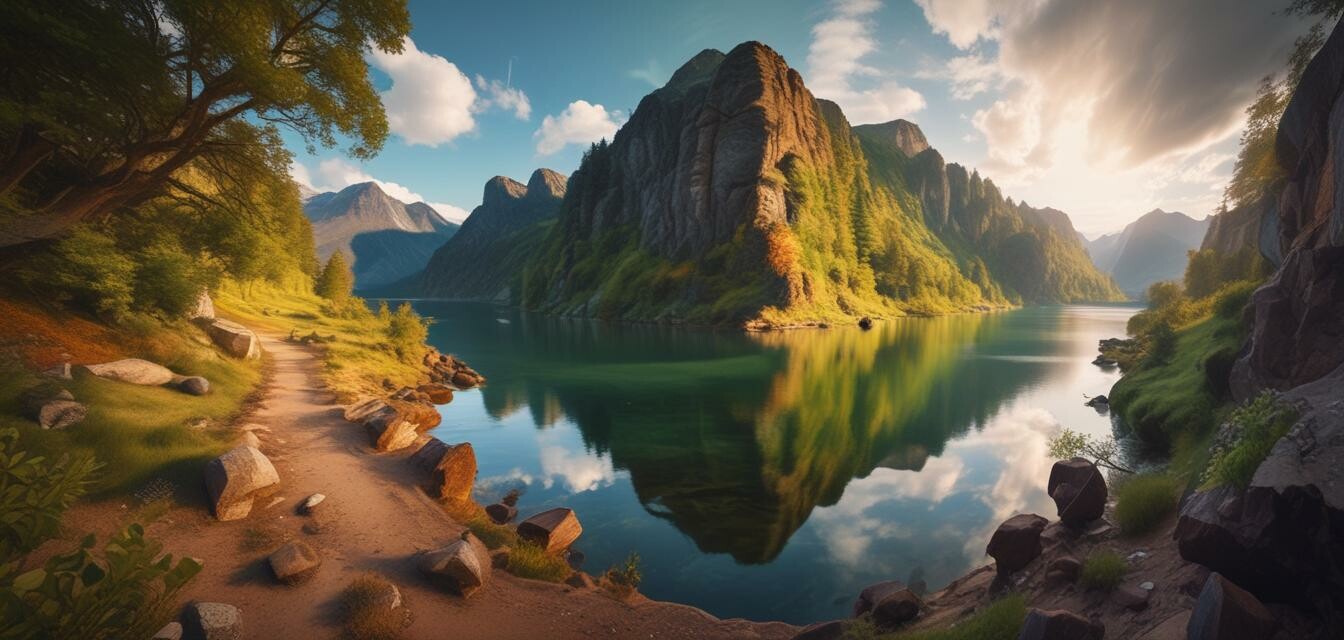
How to Capture Stunning 360-Degree Photos
Key Takeaways
- Utilize proper lighting for better clarity and vibrancy.
- Position your camera correctly to ensure balance in your shots.
- Invest in quality 360-degree cameras for superior image quality.
- Experiment with various angles and settings to achieve unique results.
360-degree photography allows you to capture immersive views that can transport viewers right into the scene. Whether you're a hobbyist or looking to enhance your professional work, understanding the techniques behind stunning 360-degree photos is essential. In this article, we will explore key tips, equipment recommendations, and strategies to help you create breathtaking images.
Understanding 360-Degree Photography
Before diving into the techniques, it's vital to understand what 360-degree photography is. It involves capturing images that provide a full panoramic view of the environment, allowing viewers to navigate around the scene by moving their devices or clicking through the image. This technology is particularly useful in real estate, tourism, and personal projects.
Essential Techniques for Stunning 360-Degree Photos
1. Lighting
Good lighting is crucial. The right light can enhance details and colors in your photos:
- Natural Light: Use sunlight when possible to illuminate outdoor scenes.
- Golden Hour: Shoot during the golden hour (early morning or late afternoon) for softer shadows and warmer tones.
- Reflectors: Use reflectors to bounce light into darker areas of your scene for more even illumination.
2. Positioning
How you position yourself and your camera can impact the outcome significantly:
- Find a central point to eliminate distortion in the image.
- Ensure your camera is level for even perspectives.
- Consider the foreground, middle ground, and background to create depth.
3. Camera Selection
Your choice of camera can make a substantial difference. Consider the following:
| Camera | Key Features | Best For |
|---|---|---|
| GoPro MAX | 5.6K Video, Waterproof, Live Streaming | Action shots and rugged environments |
| Insta360 ONE RS 4K Edition | 4K 60fps, AI Editing, Active HDR | Creative action photography and video editing |
| Insta360 Link | AI Tracking, 4K Resolution, Gesture Control | Webinars and online meetings |
Experimenting with Different Angles
Don’t be afraid to experiment with various angles and configurations:
- Try shooting from ground level for a dramatic effect.
- Use aerial shots for a unique perspective of a large area.
- Incorporate interesting objects in the foreground to create depth.
Editing Your 360-Degree Photos
Edit your photos for optimal results:
- Use software that supports 360-degree images to retain the immersive quality.
- Adjust exposure and contrast to highlight essential details.
- Consider stitching software for improving image quality with multiple frames.
Showcasing Your Work
Once you have captured and edited your stunning 360-degree photos, consider how to best showcase them:
- Upload to platforms that support 360-degree views, such as Facebook or specialized photography sites.
- Use your photos in virtual tours for real estate or travel.
- Share them on social media to gain exposure for your work.
Additional Resources
Explore 360-degree cameras or check out our guide on photographic techniques to further enhance your skills.
Pros
- Provides immersive experiences for viewers.
- Great for diverse applications like real estate and tourism.
- Easy to share on social media and other platforms.
Cons
- Can be expensive to invest in quality equipment.
- Requires a learning curve for new users.
- Editing 360-degree photos can be time-consuming.
Conclusion
Capturing stunning 360-degree photos requires practice, the right techniques, and equipment. By utilizing the tips outlined above, you can elevate your photography game and create breathtaking visuals that engage and captivate your audience. Start exploring the world of 360-degree photography today!